BREATHE WITH PEACE OF MIND – INSTALLING THE CABIN AIR FILTER
HOW TO INSTALL A CAB AIR FILTER
Has the interior of your vehicle started to smell musty? You’re not sure where the smell is coming from, but you have to do something – no one wants to travel with you!
The solution to the problem can be as easy as changing the vehicle’s cabin air filter. Cabin air filters? What are you asking?
Most people are aware that the engine has an air filter that prevents dirt and debris from entering the engine. Did you know that your car’s heating, ventilation, and air conditioning (HVAC) system has a cabin air filter?
The vehicle’s engine air filter ensures that clean air reaches the engine. Clean air is essential for the vehicle to operate efficiently. A cabin filter performs the same function for the vehicle’s HVAC system. Prevents dirt, dust, pollen, and bacteria from entering the car’s ventilation system. A cabin filter also prevents leaves, insects, and other debris from entering the HVAC system. It keeps the air inside the vehicle cool, which means you and your passengers can breathe easy.
The air filter should be replaced every 15,000 km or every 6 months. If you drive in heavily polluted areas or travel on dirt roads, consider changing the cabin filter every 8,000 kilometers. If you suffer from allergies, you should consider changing your cabin air filter more frequently to ensure air quality.
Changing your vehicle’s cabin filter is an easy job that most people can do. Continue reading onlearn how to replace it.
Step by step instructions
step one
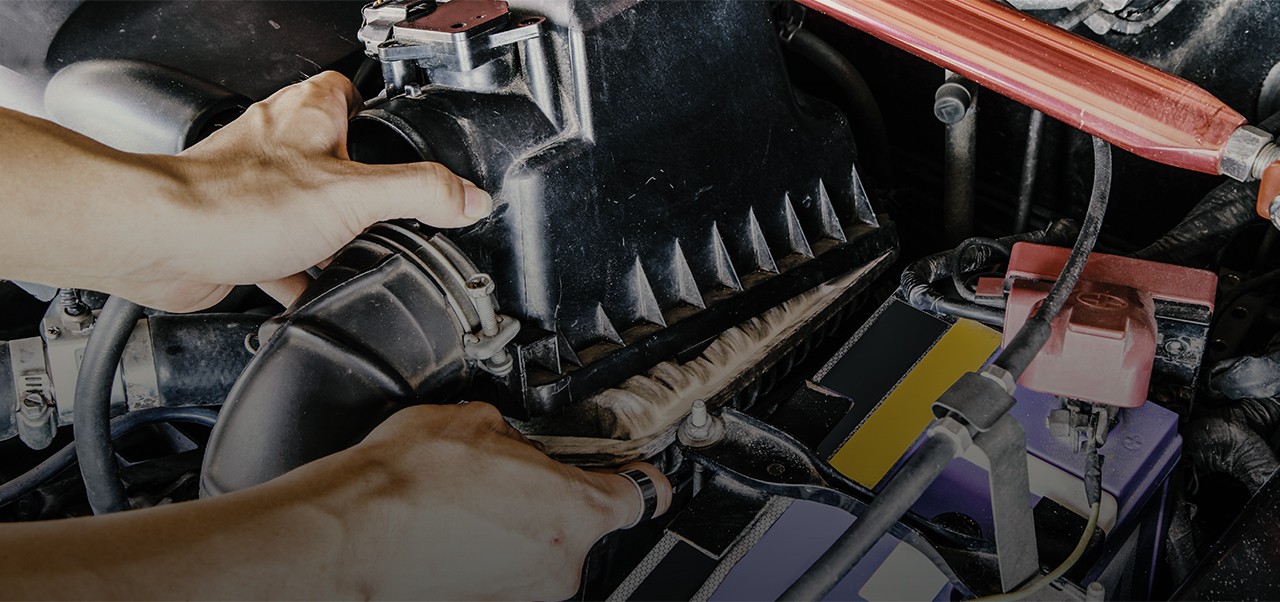
Find the cabin filter in your car. The location of the cabin air filter may vary from vehicle to vehicle. In some cars it is located under the hood, while in others it is behind the glove compartment or under the dash. Your vehicle owner’s manual will tell you where it is located. You can also ask a mechanic or other trusted professional to show you where it is.
Step two
Once you have located the cabin air filter cover, remove the fasteners or screws and nuts that hold the cover. Remove the cap and remove the filter. Look at the filter to see if it needs to be replaced or if it will last a few more miles. If it is completely saturated, it is time to replace it.
Step three
Clean the cover compartment. Before installing the new cabin air filter, it is worth cleaning the cover compartment and the air intake duct. Use a vacuum cleaner to clean up dirt and debris. Wipe the inside of the air filter chamber with a cloth to remove any dirt.
Step four
Install the new cabin air filter. Simply insert the cabin air filter in the same place where the old filter was (NOTE: make sure to install the filter in the correct direction of airflow) .
Step five
Replace the cover and the removed screws or fasteners. If you had to remove the glove box or dash to access the cabin air filter, put them back in place by reversing the steps you took to remove them. And that’s it! You and your passengers will breathe fresh air, and you’ll feel good knowing you’ve saved money by not having the dealership or a mechanic change it for you.
The content in this article is for informational purposes only and should not be used in lieu of seeking professional advice from a certified technician or mechanic. We recommend that you consult with a certified technician or mechanic if you have specific questions or concerns related to any of the topics discussed here. Under no circumstances will we be liable for any loss or damage caused by the trust you place in any content.